
Tutorial: How to Get Glowy Skin
If you’ve been searching for the perfect routine that gives you a “glow from within” kind of dewy skin look, this tutorial is perfect for you!
Although many people believe you can just use highlighters to give you a dewy, fresh-faced look. I’m more of a proponent for healthy, natural skin. My goal is to give you a natural look that also makes you feel more confident. The group of products that I’m using today can be layered (a favorite of mine, as many of you know) and you’ll be done in under five minutes!
Glow Prep
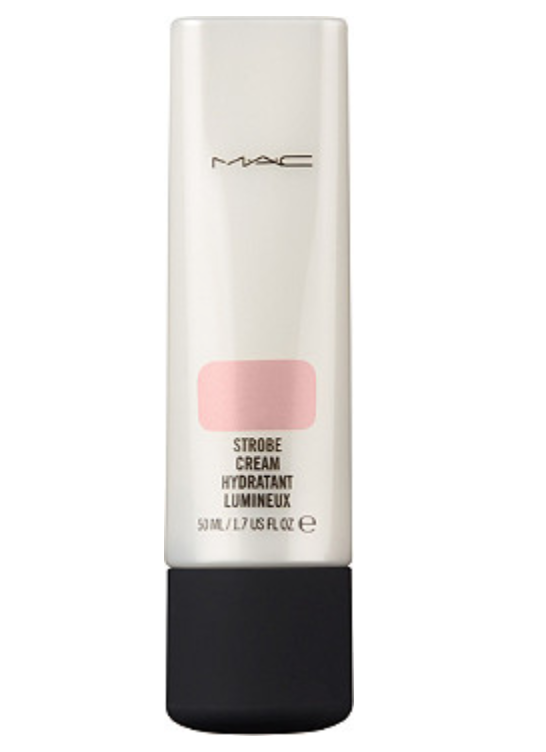
When temperatures are frigid, it’s difficult to have naturally glowy skin without the use of lots of hydration. So I like to start with a bit of moisturizer before I start with any other products. Once my moisturizer is applied, I love adding a bit of iridescent shine with the Mac Strobe Cream. I love this product because it also has soothing properties. It’s also great for mixing with a tinted moisturizer.
You’ll want to start with an application to your T-Zone (forehead, nose, chin). This will immediately add a beautiful light-reflecting glow.
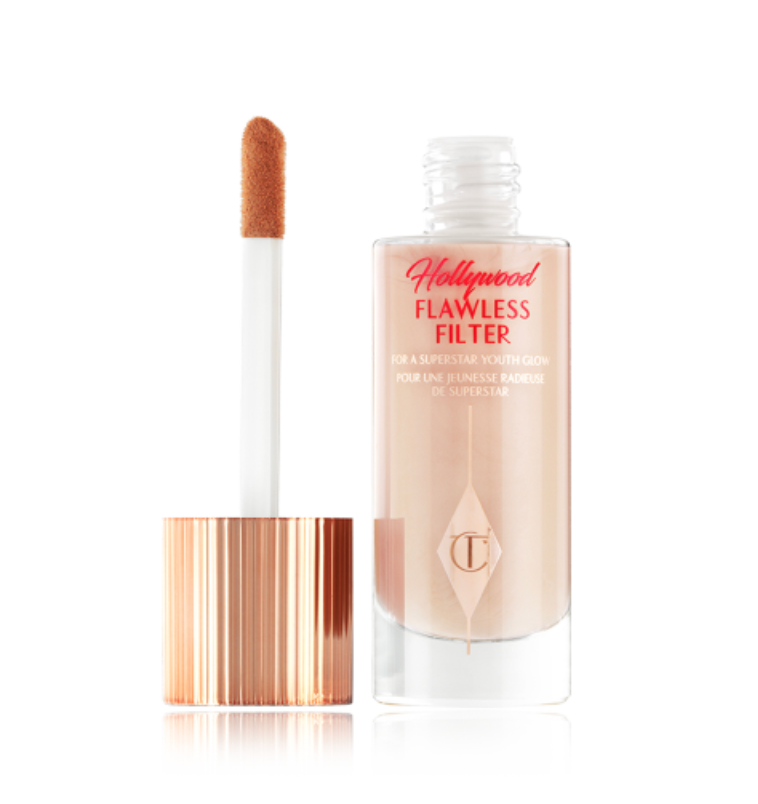
Once I’ve taken care of applying the strobe cream, I apply the Hollywood Flawless Filler. This is a favorite product of mine and is more of a colored primer. It’s one of those produces that you don’t need a lot of for big impact. It’s also super versatile- you can build your coverage and mix with other products to create the perfect application for you.
I apply this under my eye, like concealer. A rule of thumb for applying highlighters of any kind is that you want your glow to be in certain places, not all over. So focus on the high planes of your face - where a glow should or couple happen naturally- such as the cheekbones, bridge of nose, chin and inner eyes.
When you apply your products properly, the light is always hitting you in the right way and looks very natural.
Something to keep in mind about highlighting products is that If it’s too light, it will have a chalky appearance. So be sure to pick a color that is complementary to your skin tone and spend time mixing and blending.
Foundation
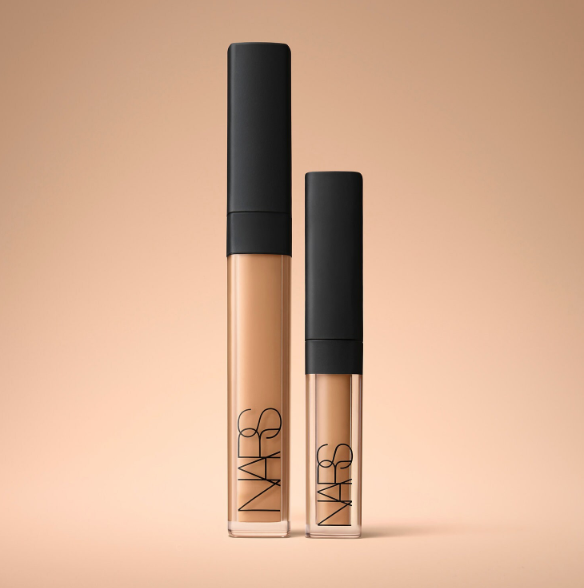
Sheer glow by Nars is a medium coverage foundation that has a nice, subtle glow. It’s beautiful alone, but your glowy finish is really amplified when using these other products. You can apply this with your beauty blender, fingers or my favorite, a brush. It’s OK to go right over your strobe cream and Flawless Filter. Again, you don’t have to apply foundation over either, but it adds to the “glowing from within” dimensional look.

Concealer
I’m a fan of mixing my concealer and shape tape to create the perfect coverage. I usually don’t need a ton of concealer after applying the previous three products, but a little extra spot coverage is going to help you look really even.

Finishing Touches
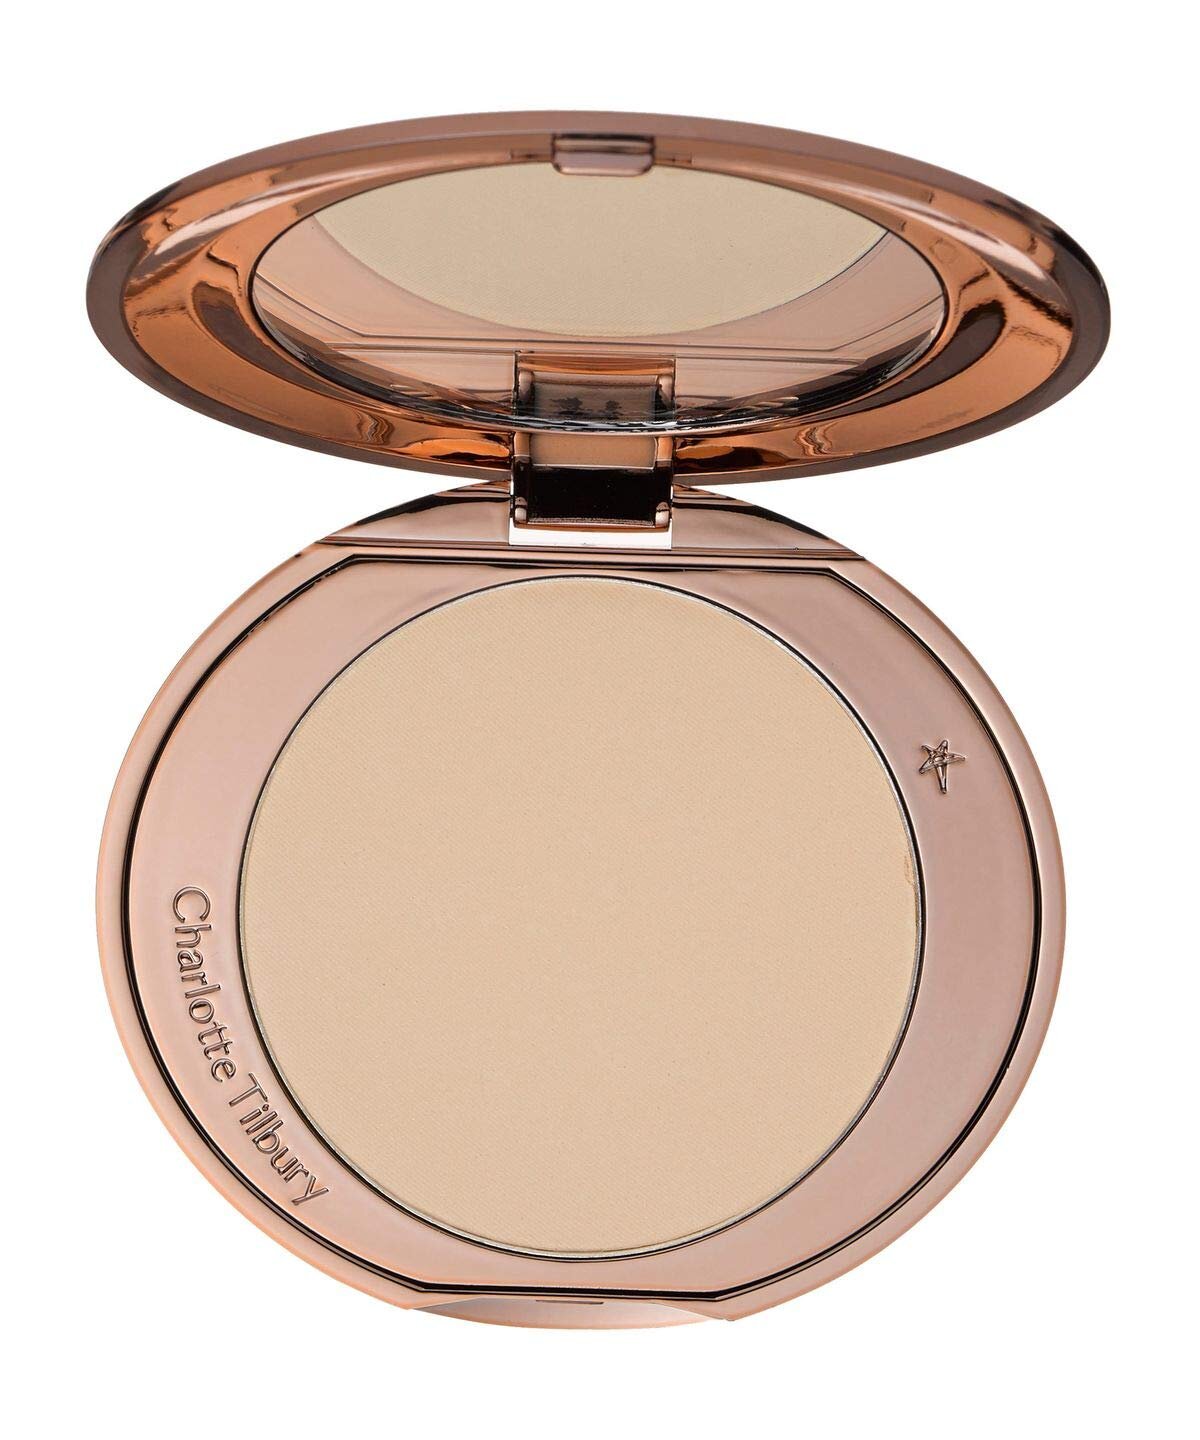
Once you’ve completed all of these steps, I personally like to apply a tiny bit of powder to even things out. I’ll sweep on a sheer powder on my upper lip, chin, nose and between eyes before applying any bronzer and blush. You may want to do something more substantial, especially if you’re shiny. Keep in mind you’re going for the dewy look, so the powder is really just for any excessively oily areas you know you have.
From there, I apply a touch of bronzer to my forehead and hollows of my cheek (aka low cheeks) and then blush to the apples of my cheeks (aka high cheeks). Voila! I love this Nars blushes because it has a touch of added shimmer, which ensures that you still look glowy and natural, versus feeling like your blush is super obvious.


This entire routine is fabulous for any time of the year! Bonus: It works great with or without a tan too!
PS- there is one another product you could add into the mix to help you keep hydrated and dewy, with or without makeup. I shared it on this Instagram post!
Stay in touch & sign up below for more blogs & updates like this!


Healthy, glowy skin will always be in!!! No need to overhaul your entire makeup bag to achieve it. You can simply add in some products that will illuminate your look with just an additional step or two!! Here are some of my favs!